Friday, April 12, 2013

Home canning chicken soup

Home canning chicken soup can be easily done if you spread it out over a couple of days.  Start with making the chicken broth.  Whenever I roast a chicken, I save the carcass and freeze it until I have a couple of them to make broth.

For the chicken broth
I fill a big soup pot with the chicken carcass, onions, carrots, celery, pepper, parsley, garlic, and bay leaf.
Bring to a boil and continue a low boil for about 2-3 hours.  Remove and discard the carcass, veggies and herbs.  Strain through a strainer lined with cheese cloth. ( do this twice).  Let broth cool and store in the refrigerator overnight.  The next day, skim off the fat that has come to the top and solidified.

For the soup
The great thing about soup is, you can add as little or as much of the veggies and chicken that you want.
So, add your favorite diced veggies and potatoes as much as you want!  Don't forget the diced chicken and the herbs.  Cover by 2 inches with the chicken broth and bring to a boil and cook until the veggies are tender.

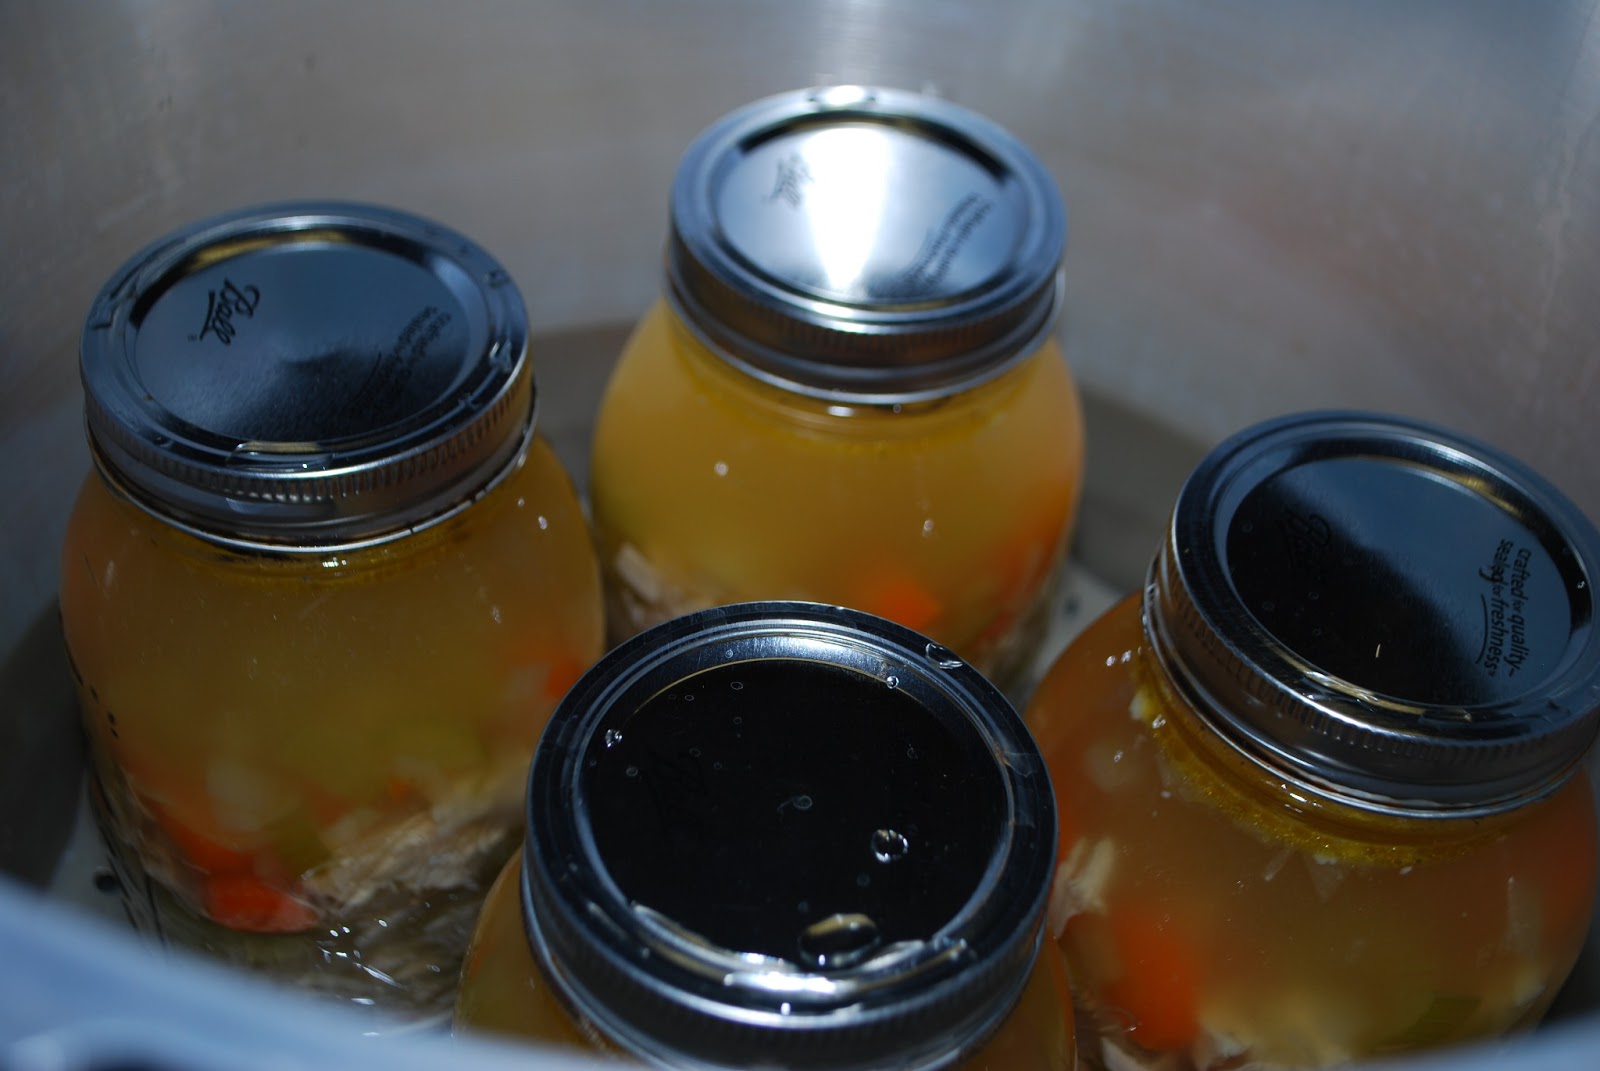
Fill hot mason jars with the hot soup leave one inch head space. Wipe the rims of the jars with a towel dampened with vinegar ( vinegar will remove the grease from the rim) .  Place the lids and bands on the jars and process in a pressure canner.  Be sure to follow the instructions for processing time.

Tips when preparing the soup
When you are ready to have this yummy soup for dinner or lunch, here are a couple of things you can do.

  • If you like a thick soup, you can add a mix of cornstarch and water to the soup after it boils.
  • Add rice or pasta after it boils cook until done.
Happy Home Canning,
Linda


I love to post pictures of the process, so here they are!


Sunday, March 31, 2013

Home canning jelly from bottled juice

OK folks, this is the next best thing to hit home canning since.....I don't know when, but its great!  and, ok, it hasn't just hit its been around for a while! If you love to make jelly and jam like I do, but you don't like to deal with juicing fruit, try bottled juice! I had already made grape and apple jelly from bottled juice and wanted to try another juice.  I like Pomegranates so I thought "why not?"  I followed the recipe for grape jelly found in Ball Complete Book of Home Preserving  I simply substituted pomegranate juice in place of the grape juice. 

This is what you need: 
  1. pomegranate juice 3 cups, no added sugar
  2. pectin 50 grams
  3. sugar 4 1/2 cups


Below I will take you through the steps to make pomegranate jelly.  Find a juice you like and make jelly.  Let me know how it turns out!  REMEMBER! make sure to buy 100 % juice with no added sugar.
add pectin to juice
whisk to dissolve pectin
bring to a boil
add sugar all at once
stir, bring to a hard boil, continue the hard boil and stir for 1 minute

remove from heat scrape off foam on the top
fill jars leaving 1/4 inch head space. this made about 6- 8 oz jars
wipe the rims with a wet paper towel
place lids and bands on and tighten to finger tip tight
place jars in a waterbath canner, bring to a boil and boil for 10 minutes
turn off heat, remove lid and let sit in pot for 5 minutes
using a jar lifter, remove jars from pot and set on a towel.  Wait for them to seal ( you will hear a ping sound) label and store in pantry.

This worked great and I can't wait to try out another bottled juice!

Happy Home Canning,
Linda

Saturday, March 23, 2013

Preserving and Freezing fruit

Preserving strawberries

One way to preserve fruit is by freezing it.  I had a lot of strawberries after visiting a pick your own farm.  After making pie filling, jam and jelly, I froze about 3 gallon ziplock bags worth.
I use this fruit in smoothies for breakfast (see recipe below).  They can also be used as a topping for pound cake, just sprinkle the strawberries with a couple tablespoons of sugar, stir and let sit for a couple of hours and serve.  The sugar and fruit will make a nice sweet syrup that will soak into the cake!  

The trick to not having them stuck together after they freeze is to freeze them individually first.

Below are the steps to follow when freezing fruit.

Clean the fruit and place on a parchment lined sheet pan
place the pans in a freezer for 2-3 hours or until frozen
remove from the pan and store in a freezer tight container
When using the fruit, make sure not to leave the container out of the freezer too long.  The fruit will start to thaw and stick together.  Take out what you need and place the rest back in the freezer.

Strawberry Smoothie
Combine the following ingredients in a blender until smooth
1/2 cup plain or vanilla yogurt (can use fat free or low fat)
1/2 cup milk (can use skim or low fat)
1-2 tablespoons sugar or sugar substitute
1 cup frozen strawberries (add these one at a time so you don't crowd the blender)

I usually keep water on hand just in case I need to add more liquid to the blender.


Happy Canning!
Linda

Saturday, March 16, 2013

How to juice fruit for home canning

Hi there!  I just recently went to a pick your own farm and came back with 45 pounds of strawberries, yummy yummy :)!!  Now I was faced with the awesome task of preserving them all.  I spent 2 days making juice, jelly, jam, dessert toppings, pie fillings, and freezing some.  I loved every minute of it, but geesh! were my feet tired when I was all done.  

If you every get a chance to go to a pick your own farm, do it.  They always have the tastiest and freshest produce.  To find a pick your own farm near you, click here.

If you love home canning, pick a bunch.  If you just want the produce to snack on, pick a little.  It is a great activity to do with the kids or to just have some time to yourself!


Here are the steps to making juice from whole fruit. This will work with any fruit.

I filled a 7 quart pot with strawberries and about 1 1/2 cups of water (just enough to keep the fruit from scorching) bring to a boil and boil for 10 minutes mashing the fruit every now and then

line a strainer with several layers of cheese cloth and set it in a big bowl to catch the juice. Pour the cooked fruit in the strainer (careful it is very hot!) and let it drain undisturbed for about 3 hours or over night in the refrigerator. It is very important that you do not mash the pulp in the strainer.  This will cause the pulp to go through the cheese cloth resulting in cloudy juice.


When you are all done, throw the pulp on the compost pile and use or freeze the juice within 5 days. I ended up with about 2 quarts of juice.


Hint for freezing the juice:  freeze in 1-2 cup servings so you can use as needed for jelly. Juice should keep in the freezer for up to twelve months, so just when you have used it all, it will be picking time again!!

Happy Home Canning,
Linda

Friday, March 8, 2013

Home canning smoked Salmon

Just as I promised! Here is my home canned Smoked Salmon
I started off with a Brine Here is the recipe.
See all the steps below the picture


This is the salmon after it sat overnight in the brine. We rinsed it, patted it dry and set it outside to dry for about an hour.  It was a cold day so the temperature wasn't an issue.

This is the inside of our smoker.  The salmon was smoked until it reached and internal temperature of 150-160 degrees

The salmon is smoked and cooled.  

Cut the salmon to fit the jar and pack with skin side to the glass. Leave 1 inch head space.

There is no need to add any liquid

wipe the rim of the jars with vinegar and place the lids and bands on.

This is what they looked like after they processed in the pressure canner for 100 minutes at 10 pounds pressure

Here is my lunch the next day!  Just to make sure it wasn't too salty, I rinsed it again and warmed it up before I added it to my salad.  Topped it with vinegar and oil dressing and a little Parmesan cheese.
All home canned salmon should be heated through before eating.

Thursday, February 28, 2013

Canning Salmon

Just a quick note:

I will be home canning salmon this weekend and will post later to let you know how it turned out.

Saturday, February 23, 2013

Home canning carrots

Carrots

I just finished canning 3 pounds of carrots.  I used the raw pack method which is how I usually can vegetables.
Raw pack simply means that the vegetables are packed in the jars without heating first.  You then pour boiling water over them to fill the jars.  There are some draw backs to home canning vegetables using the raw pack method.  As you can see in the photo, I have lost half of my liquid!  That's the draw back.

If the food is too cold when packing, you could loose liquid.  This can happen with many other foods also.

I have posted a step by step tutorial video on home canning carrots, check it out at all things canning.  Look in the side bar under video spotlight.